 INSTALLING LINUX================
How Linux in Window?
Linux is widely used by the organisations where security and performance along with multiuser-multitasking (many more features are out there, you can check it by clicking here.) are priority. The main issue arises when we've to learn how to operate linux so that could be easier (for begineers specially) to get marks in the preferred institute and jobs. Linux is not only all about these, mean getting marks and jobs, means who'll really care for those if one got Linux knowledge to have more self-employeed jobs while having fun of its open source codes.
Another issue arises when we've to install Linux in pre-existing OS. Here, Windows OS for the installation will be used.
(If you wish to see the clip for Linux installation, Click here .)
INSTALLATION
The following steps tell you how to install linux on Windows OS.
1. Download the VMWare Workstation .
It's a freeware software that creates interface to install other OS with the pre-existing OS. Download it by clicking here.
Along with it, get its verification code which is available online. We'll provide it too.
NOTE : The primary OS will still be yours pre-existing OS.
2. Download Linux.
Linux can be recreated by any authorities with verification of from the main linux authority and can be downloaded from anyone of them.
Here, Red Hat Enterprises will be used for. You can go online to download ir click here to download it directly.
3. Copy the linux setup kit to desktop.
The setup kit of RedHat is named as rhel6Image . Copying to desktop is easier otherwise you have provide the setup path for Linux detection.
4. Install VMWare and choose CUSTOM or RECOMMENDED.
(Here, recommended one will be choosen. There is no much difference in the installation in the other way. One just has to to do is to select the no. of cores and other directory setups along with storage capacity . That's simple even.Choosing Recommended will have recommended to be choosen in the setup of the OS installation.)
5. Now open VMWare. It'll look like -

Click the Create new Virtual Machine to load the linux file.


Now select the rhel6Image file being seen now.
Clicking Ok will confirm if the file belongs to the respected OS. In this case, it will say "Red Hat Enterprises Linux 6 detected."

7. Clicking next will ask for creating a user information file (for logging into Linux ) in the appered dialog box.

NOTE : Donot use uppercase letters in the username .
8. After it, the file location for linux file is to be asked. Bydefault it is placed in the Documents directory, you can change it too.

9. Click next and fill Maximum Disk Space to your choice in GB(Minimum requirement is 80 GB).
And click on the "Store Virtual Disk As A Single File" .

10. Click next and Continue to proceed for booting of Linux now.
It'll take time, but it'll be done automatically.


There are a lot of files for its installation, all of them will be installed automatically.

Just calm and have patient. Depending upon your system's performance, it'll be done in time.

11. In booting up
one file will be seen as FAILED

Donot bother,it is due to mechanical absency, that's not any of the issue.
12. After long wait, you'll be asked for your login id and password to login. (keep your secret diary maintained with the id and password,because forgetting will have to be erased all data contented. )

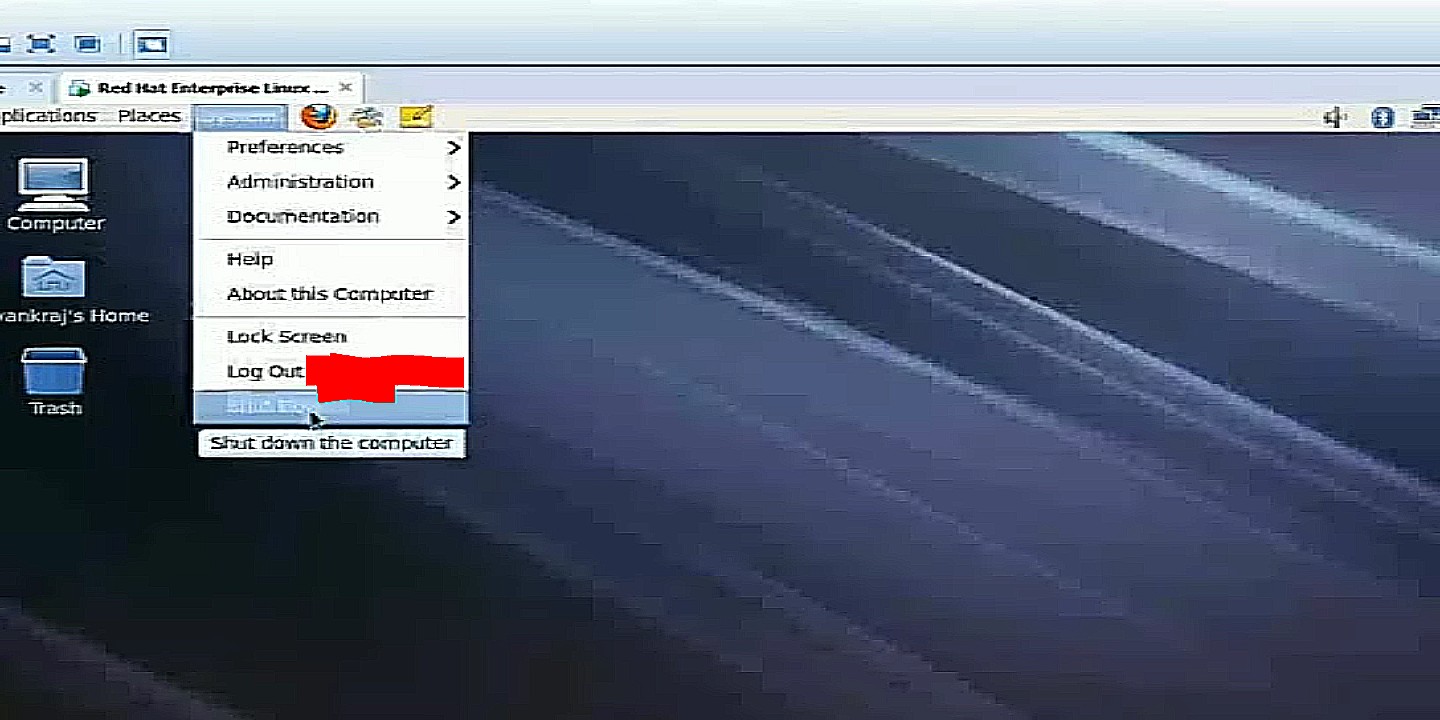
This is how the Red Hat Linux looks like:-


You can log out by -
System -> log out username
Installation actually completed in 10 steps,isn't it amazing? The only time it takes is for booting up process.
Serial Keys for VMWare:-
HA2VM-220EP-3ZAN8-JR156-8CNHD
1V22N-4LK8H-TZ1N9-GR9Q2-92GK5
You can just copy and use it. If in case it is not working, you can find the verification keys online easily.
Regards,
ITK
Regards,
ITK
Comments
Post a Comment